DataStax
Summary
This document covers the information to gather from DataStax in order to configure a Qarbine data service. The data service will use the Qarbine DataStax driver. You can define multiple data services that access the different DataStax endpoints by using different credentials. Once a data service is defined, you can manage which Qarbine principals have access to it and its associated DataStax data. A Qarbine administrator has visibility to all data services.
Overview
DataStax's database, Astra DB, is a database-as-a-service built on Apache Cassandra. It provides seamless multi-region and multi-cloud support, ensuring high availability and fault tolerance. Its flexible schema allows for easy adjustments as data models evolve, and it supports various data types, including structured, semi-structured, and unstructured data. This variety of data types makes Qarbine the ideal analytics platform for DataStax customers.
Qarbine uses the new DataStax vector enabled API. The legacy generic Cassandra APIs are not supported per https://docs.datastax.com/en/astra-db-serverless/api-reference/legacy-overview.html
DataStax Configuration
Overview
Qarbine requires a DataStax application token and endpoint to access the DataStax cloud service. Log in to the DataStax cloud console from
Overview
Application Token
Navigate to the database of interest.
Copy the endpoint by clicking on the highlighted button shown below.
To obtain an API token, on the right side, click the button highlighted below.
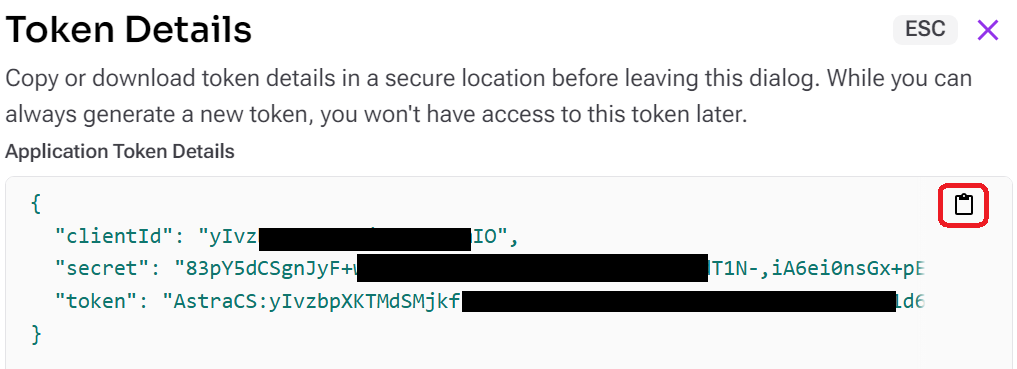
In the dialog click the highlighted icon.
In the dialog choose the drop down option shown below and also enter a meaningful name,
To generate the token click
Click the highlighted icon below.

You may also want to download the details to store in a safe location. The primary value required is the token.
Close the dialog by clicking
Verify the role highlighted below. Analytic activities should always be restricted to a read only permission.

Qarbine Configuration
Compute Node Preparation
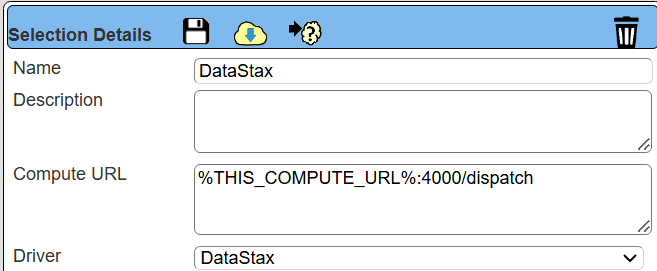
Determine which compute node service endpoint you want to run this data access from. That URL will go into the Data Service’s Compute URL field. Its form is “https://domain:port/dispatch”. A sample is shown below.
The port number corresponds to a named service endpoint configured on the given target host. For example, the primary compute node usually is set to have a ‘main’ service. That service’s configuration is defined in the ˜./qarbine.service/config/service.main.json file. Inside that file the following driver entry is required
"drivers" :[
 . . .
"./driver/dataStaxDriver.js"
]
The relevant configuration file name for non primary (main) Qarbine compute nodes is service.NAME.json. Remember to have well formed JSON syntax or a startup error is likely to occur. If you end up adding that entry then restart the service via the general command line syntax
pm2 restart <service>
For example,
pm2 restart main
or simply
pm2 restart all
Data Service Definition
Open the Administration Tool.
Navigate to the Data Services tab.
A data service defines on what compute node a query will run by default along with the means to reach to target data. The latter includes which native driver to use along with settings corresponding to that driver. Multiple Data Sources can reference a single Data Service. The details of any one Data Service are thus maintained in one spot and not spread out all over the place in each Data Source. The latter is a maintenance and support nightmare.
To begin adding a data service click
On the right hand side enter a data service name and description. The name can be functional or technical in nature. Also choose the “DataStax” driver.

Specify the endpoint for the server template.
Specify the server options. The token value is the from DataStax. DataStaxhas a variety of other connection options which can be specified using a CSV list of key\value pairs.
You can reference environment variables using the syntax %NAME%. Any strings should be quoted and the key\value pairs separated by commas.
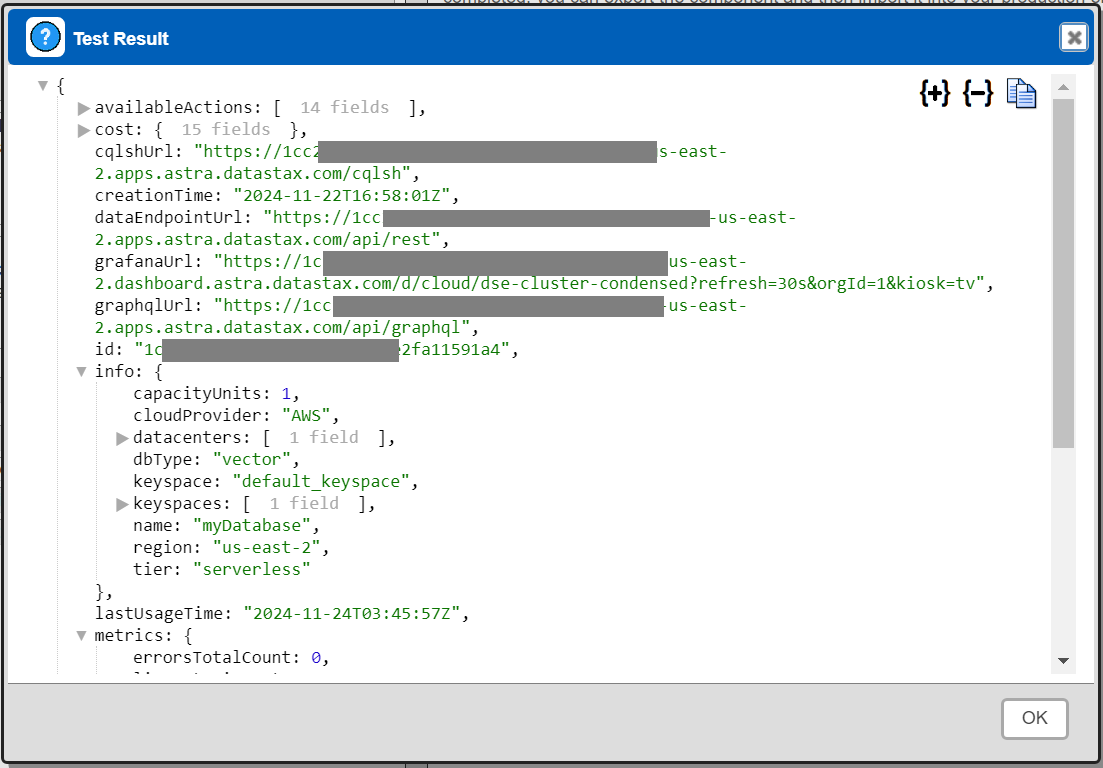
Next, test the settings by clicking on the icon noted below.
The result should be similar to the following.

Save the Data Service by clicking on the image highlighted below.
The data service will be known at the next log on time. Next, see the DataStax oriented query interaction and any tutorial for information on interacting with DataStax from Qarbine.