Cassandra
Overview
There are several options for using Cassandra such as:
- Apache Cassandra,
- Azure CosmosDB,
- Azure Managed Cassandra (https://learn.microsoft.com/en-us/azure/cosmos-db/cassandra/introduction)
- ScyllaDB,
- DataStax Enterprise/Astra and
- Amazon Keyspaces.
Qarbine uses the Node.js cassandra-driver for connectivity to a Cassandra compatible database. This document highlights the configuration parameters for a Qarbine Data Service accessing most of the above services.
Specifying Server Connection Options
General Approach
The general structure for Cassandra client connections at the node.js driver level looks like
{
  contactPoints: ['h1', 'h2'],
  localDataCenter: 'datacenter1'
}
DataStax Astra has a different argument structure. It looks like
{
  cloud: { secureConnectBundle: 'path/to/secure-connect-DATABASE_NAME.zip' },
  credentials: { username: 'cassyYonder', password: 'p@ssWordL89' }
}
These connection options are specified within the server options of a Qarbine data service.
For example,
contactPoints= ['h1', 'h2'],
localDataCenter= 'datacenter1'
The parameters can use dotted path notation to define the options structure. A sample DataStax Astra is,
cloud.secureConnectBundle = 'secure-connect-mybasedatabase.zip',
user=  'token',
useAuth=true,
password="AstraCS:1234567890…"
In this example the secure connect bundle (SCB) has been copied on to the Qarbine host into the ˜/qarbine.service folder.
For PlainTextAuthProvider authentication set useAuth to true. The resulting option is
authProvider{ new cassandra.auth.PlainTextAuthProvider(user, password) }
The default usage of setting user and password is
credentials: { username: user, password: password }
For SigV4AuthProvider authentication the aws-sigv4-auth-cassandra-plugin module provides sigV4.region, sigV4.accessKeyId and sigV4.secretAccessKey values. The resulting option is
auth: { new sigV4.SigV4AuthProvider( {region, accessKeyId, secretAccessKey} )
See the following for more authentication details
https://docs.datastax.com/en/developer/nodejs-driver/4.7/features/auth/index.html
Set EC2MultiRegionTranslator to true for
policies: { addressResolution: new EC2MultiRegionTranslator() }
See the following for details https://docs.datastax.com/en/developer/nodejs-driver/4.7/features/address-resolution/index.html
For other options such as pooling and throttling see https://docs.datastax.com/en/developer/nodejs-driver/4.7/features/connection-pooling/index.html
Qarbine’s general purpose “database” field is set to the optional Cassandra keyspace value.
Also verify the Qarbine host’s IP address is permitted access in any network security setting.
Azure Managed Cassandra
Consider the sample configuration on the page
https://learn.microsoft.com/en-us/azure/cosmos-db/cassandra/manage-data-nodejs
It has the coding sequence of
let authProvider = new cassandra.auth.PlainTextAuthProvider(
    config.username,
    config.password
);
let client = new cassandra.Client( {
    contactPoints: [`${config.contactPoint}:10350`],
    authProvider: authProvider,
    localDataCenter: config.localDataCenter,
    sslOptions: {
        secureProtocol: "TLSv1_2_method"
    },
} );
The corresponding Qarbine server options are,
user=  'foo',
password=  'bar',
useAuth=true,
contactPoints = [ 'H1', 'H2', …],
localDataCenter = 'somewhere.com',
sslOptions.secureProtocol = "TLSv1_2_method"
The optional keyspace can be set in the general purpose database field.
Also verify the Qarbine host’s IP address is permitted access in any network security setting.
DataStax Astra
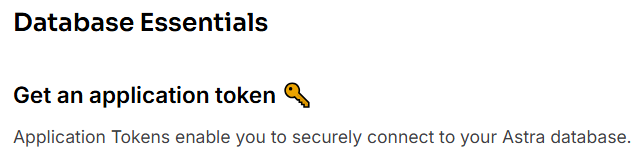
One option to connect to DataStax Astra’s non-Vector Cassandra is to obtain application token related information. To get this log on to Data Stax Astra at https://astra.datastax.com/.
Navigate to the tab below.

In the middle view the options.
Choose the “Read Only User” and click the button.

In the dialog presented copy the JSON text into a temporary location.
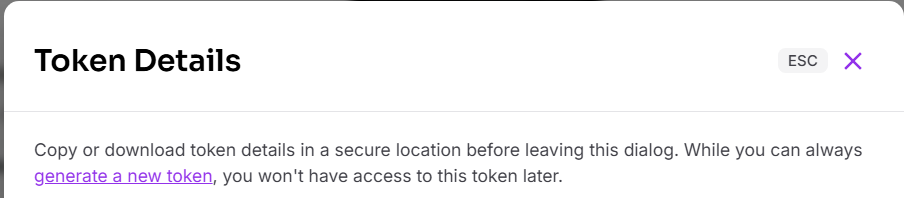
Copy the text into a temporary area. The token value will be used by Qarbine as the password for the user literally named “token”.

Alternatively the clientId can be used as the user and the secret as the password.
Use Secure Connect Bundles (SCBs) when connecting to your database. An SCB contains the SSL and TLS artifacts needed for your app to connect to Astra. Below the section

Click

Set the drop down options for your deployment.
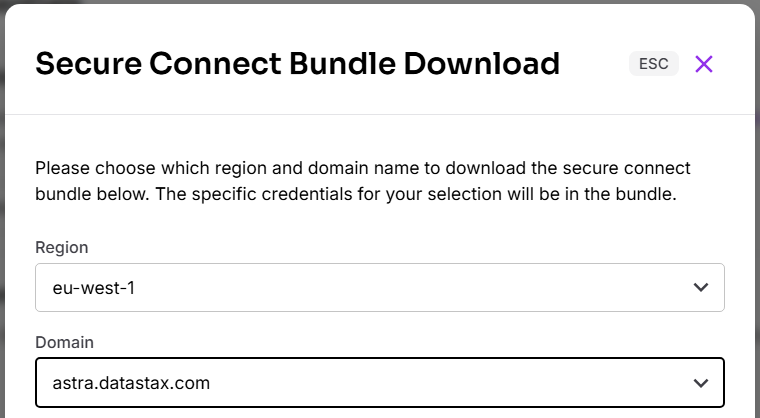
Click

For details see https://docs.datastax.com/en/astra-db-serverless/databases/secure-connect-bundle.html
Verify connectivity by navigating to the tab highlighted below.

Then review the IP access and other networking settings. The Qarbine host must have connectivity to the Cassandra database.
AWS Keyspaces
You will need the following information:
- AWS region (e.g., us-east-1),
- AWS access key ID,
- AWS secret access key,
- Amazon Keyspaces endpoint (e.g., cassandra.us-east-1.amazonaws.com),
- Port: 9142,
- TLS certificate path (e.g., ./sf-class2-root.crt) and
- Local data center (should match the region, e.g., us-east-1).
Details on connecting can be found at
https://docs.aws.amazon.com/keyspaces/latest/devguide/using_nodejs_driver.html.
The TLS certificate sf-class2-root.crt is already in the ˜/qarbine.service/config folder.
The general Qarbine server options are of the form,
contactPoints = ['cassandra.us-east-1.amazonaws.com'],
localDataCenter = 'us-east-1',
sslOptions.ca = [ './config/sf-class2-root.crt' ],
sslOptions.host = 'cassandra.us-east-1.amazonaws.com',
sslOptions.rejectUnauthorized = true,
protocolOptions.port = 9142,
Adjust the region for your deployment. For service-specific credentials add
user=  'foo',
password=  'bar',
useAuth=true,
For SigV4 authentication add
sigV4.region =  'us-east-1',
sigV4.accessKeyId=  'foo1234567890',
sigV4.secretAccessKey=  'bar987654321',
A list of available AWS Keyspace endpoints can be found at https://docs.aws.amazon.com/keyspaces/latest/devguide/programmatic.endpoints.html
The optional keyspace can be set in the general purpose database field.
Also verify the Qarbine host’s IP address is permitted access in the associated security group.
ScyllaDB
The general Qarbine server options are,
user=  'foo',
password=  'bar',
useAuth=true,
contactPoints = [ 'H1', 'H2', …],
localDataCenter = 'somewhere.com'
The optional keyspace can be set in the general purpose database field.
Also verify the Qarbine host’s IP address is permitted access in the ScyllaDB Cloud portal.
Qarbine Configuration
Compute Node Preparation
Determine which compute node service endpoint you want to run this data access from. That URL will go into the Data Service’s Compute URL field. Its form is “https://domain:port/dispatch”. A sample is shown below.

The port number corresponds to a named service endpoint configured on the given target host. For example, the primary compute node usually is set to have a ‘main’ service. That service’s configuration is defined in the ˜./qarbine.service/config/service.main.json file. Inside that file the following driver entry is required
"drivers" :[
 . . .
"./driver/cassandraDriver.js"
]
The relevant configuration file name for non primary (main) Qarbine compute nodes is service.NAME.json. Remember to have well formed JSON syntax or a startup error is likely to occur. If you end up adding that entry then restart the service via the general command line syntax
pm2 restart <service>
For example,
pm2 restart main
or simply
pm2 restart all
Data Service Definition
Open the Administration Tool.
Navigate to the Data Services tab.

A data service defines on what compute node a query will run by default along with the means to reach to target data. The latter includes which native driver to use along with settings corresponding to that driver. Multiple Data Sources can reference a single Data Service. The details of any one Data Service are thus maintained in one spot and not spread out all over the place in each Data Source. The latter is a maintenance and support nightmare.
To begin adding a data service click

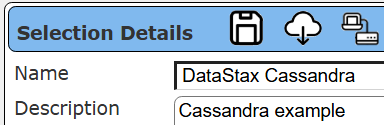
On the right hand side enter a name and optionally a description.
Set the Compute URL field based on the identified compute node above. Its form is “https://domain:port/dispatch”. A sample is shown below.

Next, choose the “Cassandra” driver.

Set the server options as described above to match your Cassandra connectivity requirements. An example for DataStax Astra is shown below.

Optionally specify a keyspace in the Qarbine generalized “database” field as shown below.

Enable the data service for the desired general user group.

Test your settings by clicking on the toolbar image highlighted below.

The result should be similar to the following.
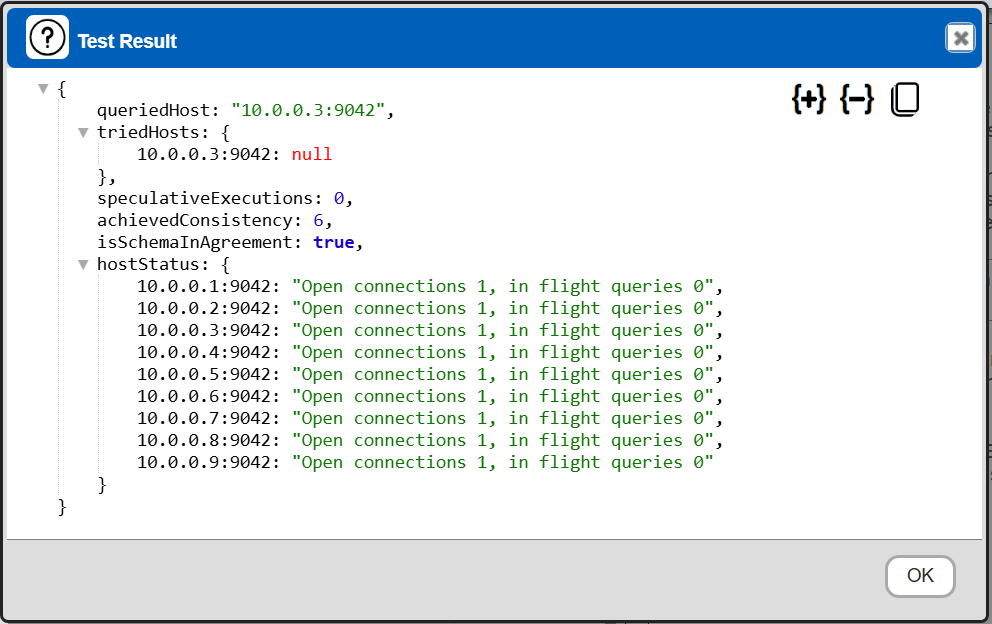
The information is obtained by running “SELECT release_version FROM system.local”. If this query returns a result, it confirms that the server is up and responding to CQL queries. This is a standard health check used in many Cassandra deployments. The host status information is from “client.getState();”.
Save the Data Service by clicking on the image highlighted below.

The data service will be known at the next log on time. Next, see the Cassandra query interaction and any tutorial for information on interacting with a Cassandra database from Qarbine.