Increasing Flexibility via Prompts
Overview
Prompts are one way to provide runtime values to the execution pipeline. Qarbine provides a Prompt Designer to easily create dialogs without any coding. Applications can also pass runtime values to Qarbine when it is used in an embedded fashion. The variables defined in the prompt may be referenced by data sources and report templates. This allows greater flexibility for your data retrieval queries and report templates. Shown below is the execution flow when there is a Prompt component.

We’re going to add some flexibility to our data source query and analysis template by prompting for a movie year.
Walkthrough Steps
Opening the Prompt Designer
The Prompt Designer can be accessed in several ways including
- from the sign on page

- from another tool’s upper left menu.

. . .

Available Prompt Widgets
Initially the prompt has no user input elements.

A standard Prompt contains one or more prompt elements with each corresponding to a dialog widget. A large variety of widgets is available as shown in the table below.
| Widget | **** | Widget | |
|---|---|---|---|
 | Entry field |  | Date |
 | Hidden entry field |  | Time |
 | Text area |  | Date and time (timestamp) |
 | Checkbox |  | Date range |
 | Slider |  | Timestamp range |
 | Drop down |  | Heading |
 | List- single or multiselect |  | Label |
 | Radio box set |  | Horizontal line |
 | Color |  | File prompt |
These widgets are listed along the vertical palette. Selecting one provides information about its usage. Double clicking adds that type of widget to the elements list. They can be reordered by dragging them up and down in the list.
Setting the Prompt Elements
For our movie prompt a simple slider widget will suffice.
Add a main heading by double clicking  .
.
Select the heading element in the list

In the detail area adjust the default values from

To

Tab out of the label entry field. To apply the changes click

The far right area is updated.
Next, add a slider widget by double clicking  .
.
The prompt elements list looks like the following.

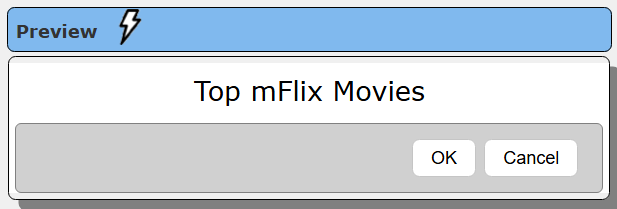
The right hand side preview area shows the following.
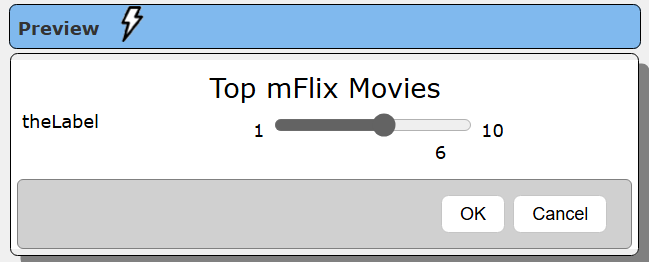
Select the slider widget prompt element.

Adjust the default values from

to

Set the variable name as shown below

Adjust the slider settings as shown below

Tab out of the entry field. To apply the changes click

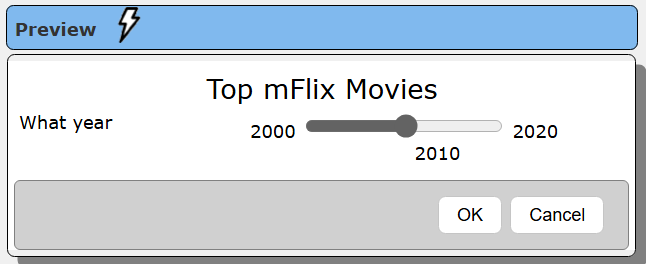
The preview area is updated as shown below.
Testing the Prompt
To test the prompt click

The following dialog is shown.
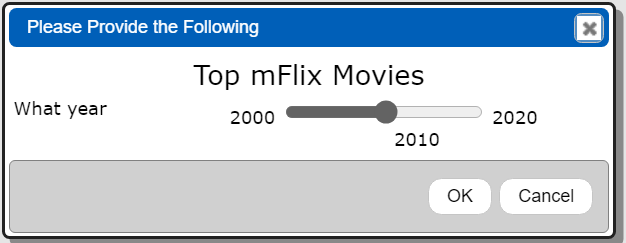
Click

The results of the prompt are shown in the Results tab.

Saving the Prompt
Activate the Design tab by clicking

Save the Prompt by clicking

In the catalog prompt navigate to the desired folder.
Enter a name

Your components can include longer descriptions and tags as well to better convey their purpose and group them in an ad hoc manner independent of their catalog folder location. Users can search the catalog by keywords and tags.
Click
Referencing the Prompt
You now have a prompt to obtain a year from the user. Previously we defined a Data Source to obtain the top 25 movies for the year 2014. We can change that hard coded value to use the value obtained from the user via our Prompt component.
Opening the Data Source Designer
This tool can be accessed in several ways including:
- from the sign on page

- from another tool’s upper left menu.

Using the Prompt Output Variable
A convenient way to open your previously designed Data Source is by clicking on the recent icon as highlighted below.

Select the component

Click

The query definition is shown below.

Edit the hard coded “2014” with “@year” as shown below.

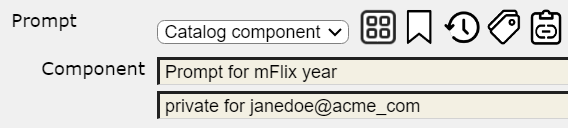
To associate it with the Prompt click

The properties dialog appears.

Activate the Prompt tab.

Choose

Click

Choose

Click

The properties dialog is updated.
Click

Click
The dialog is presented.

Specify a year value.
Click
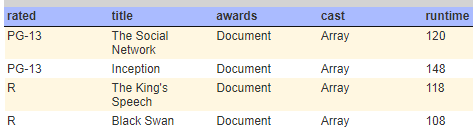
The effective query is run and the results shown.
Save the Adjusted Data Source
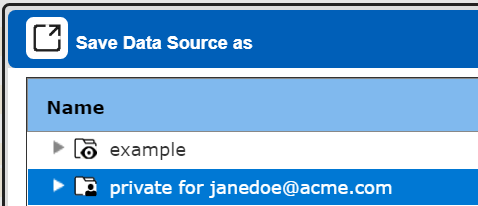
Save the data source as a NEW COMPONENT by clicking

In the catalog prompt navigate to the desired folder.

Enter a name

Your components can include longer descriptions and tags as well to better convey their purpose and group them in an ad hoc manner independent of their catalog folder location. Users can search the catalog by keywords and tags.
Click
Template Ripple Effect
Our previously designed template references the updated data source which now has a prompt reference. Let’s see how that change ripples across components. The Template Designer can be accessed in several ways including:
- from the sign on page

- from another tool’s upper left menu.

. . .

A convenient way to open your previously designed Template is by clicking on the recent icon as highlighted below.
Select the component

Click
Now adjust the data source reference to the more flexible one which references a prompt.
Click
Click the highlighted icon.

Choose

Click
The properties dialog is updated.

Click
The chosen year is going to be shown on the output.
In the grid area click the position shown below.

For a formula enter
concat("For the year ", @year)
Adjust the font settings.

Increase the width

The cell is now

Save the template as a NEW COMPONENT.
Click
In the catalog prompt navigate to the desired folder.

Enter a NEW name
Click
To run click
You are presented with the prompt.
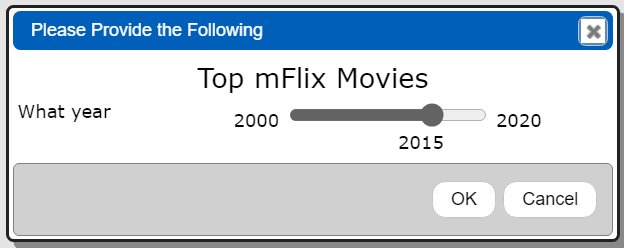
Specify a year value.
Click
The year value propagates into the referencedData Source which obtains the main data to iterate over. The result for the year 2015 is shown below.
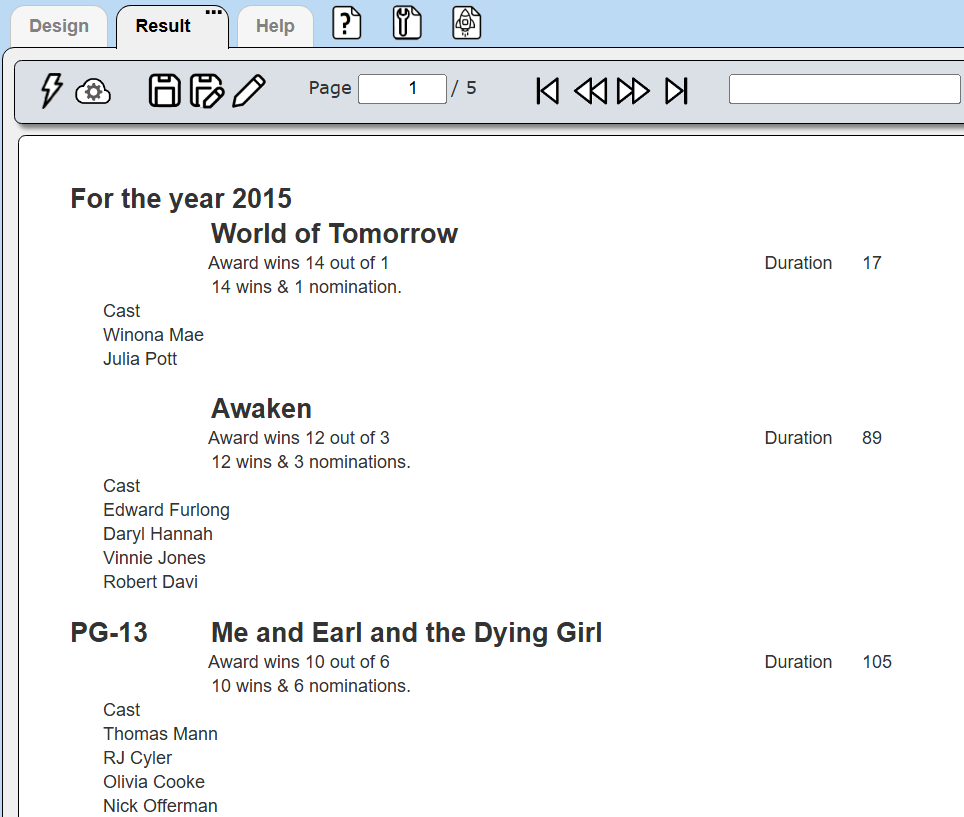
Note that the template itself was not changed. It “inherited” the updates to the referenced data source. This inheritance can be very useful by allowing database query experts to optimize their data source queries over time and the referencing templates immediately gain the benefits.
Next Steps
There are many other features of the Prompt Designer discussed in its own document.
For now, return to the “1) Qarbine Sandbox Bucket List” document to continue the quick tour.